Submitted by Alexis Baghdadi
When the rain season started this year, I brewed my first batch of "nettle tea". With just one bucket of nettles picked from my neighbors' abandoned plot, I got 10 times that amount of liquid natural fertilizer, with a lot left over to give away.
The common or stinging nettle (Urtica dioica - القرّاص) is a beneficial weed that is quite widespread so it is easy to gather. It is rich in nitrogen, which makes it a good activator for compost. Nettle tea supplements plants with nitrogen, chlorophyll, magnesium, sulfur, iron, potassium, copper, zinc and calcium. You can also find recipes for nettle soup, drinks and other culinary uses online if you're feeling adventurous.
Like many new "permies" I know, I had read about nettle tea online and in books but I had never actually gotten around to try it for some reason. This year, I was lucky to be able to spend more time in the garden and observe the changing of the seasons, so I was ready when the first nettles started sprouting. When I found how easy it was to make this fertilizer, I decided I would make it every year and encourage more people to do so too.
All you need is a bucket with a lid, pruning shears or scissors, gardening gloves and some rainwater. Here's what to do:
| 1. Cut enough nettles to fill a bucket. You should choose plants that aren't carrying any seeds and cut them at the base so you don't get any roots or soil. When I gathered my second batch (Dad accidentally knocked over part of my first batch while it was brewing), I had to watch out for snails who had eaten through most of the patch and were still hanging on (I didn't want to risk killing them unnecessarily). Attention: Use gardening gloves to protect your hands (stinging nettles sting!) 2. Trim the plants inside the bucket with pruning shears or scissors. You can leave the plants whole and get the same results, but it is much easier to handle the brew later (stirring and filtering) if the cuttings are trimmed short. 3. Fill the bucket with clear rainwater a little under the top and cover. As the nettle tea brews, a layer of foam might develop, so you need to leave some room for it. The tea will smell unpleasant during brewing, so you don't want it to spill and overfill. Attention: It is better to use rainwater as it doesn't contain chlorine, fluoride or other chemicals that may inhibit the beneficial qualities of nettles. Alternative: You can put the trimmings inside a cloth bag and tie it closed before adding water. This works like a tea bag and makes it easier to filter the tea later. 4. Place the covered bucket in a warm sunny place and stir every 2 days or more. I stirred mine every morning because it only took a few seconds. Your nettle tea will be ready after around 2 weeks when it stops bubbling (in cold places with little or no sunshine, the brew might require an additional week). 5. Filter the nettle tea over a wide container using an old cloth (or, if you used the "tea bag" method, simply squeeze it dry) and use only the clear-ish liquid. How to use your nettle tea Brewed nettle tea will last up to 6 months, enough to get you through the growing season (spring). To use as a fertilizer, mix 1 part nettle tea with 10 parts water (1:10) and pour the mixture at the base of plants where roots will absorb them more easily. This fertilizer works best on plants that have a high demand for nourishment such as fruit trees and bushes, roses, annuals and perennial flowering plants. It works for tomatoes, leeks, brassicas, cucumbers and courgettes. However, it is not meant for beans, peas, onions, potatoes and root vegetables. Apply nettle tea to your plants every 3 weeks in the growing season. | 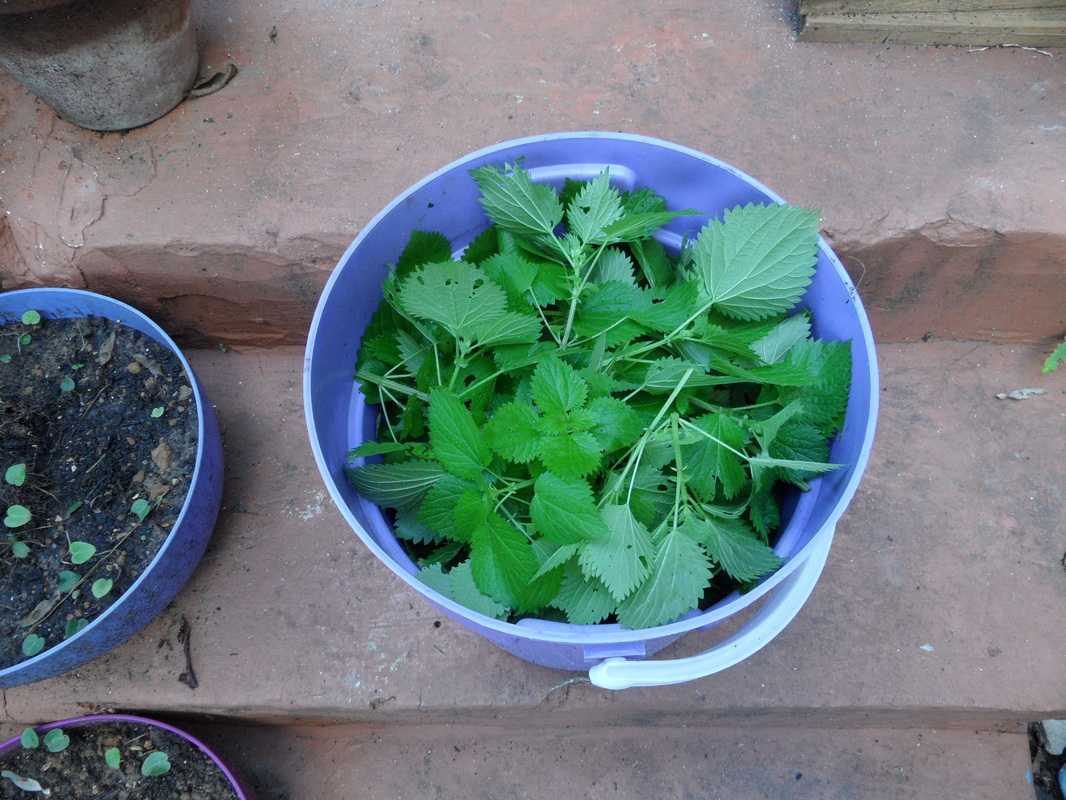 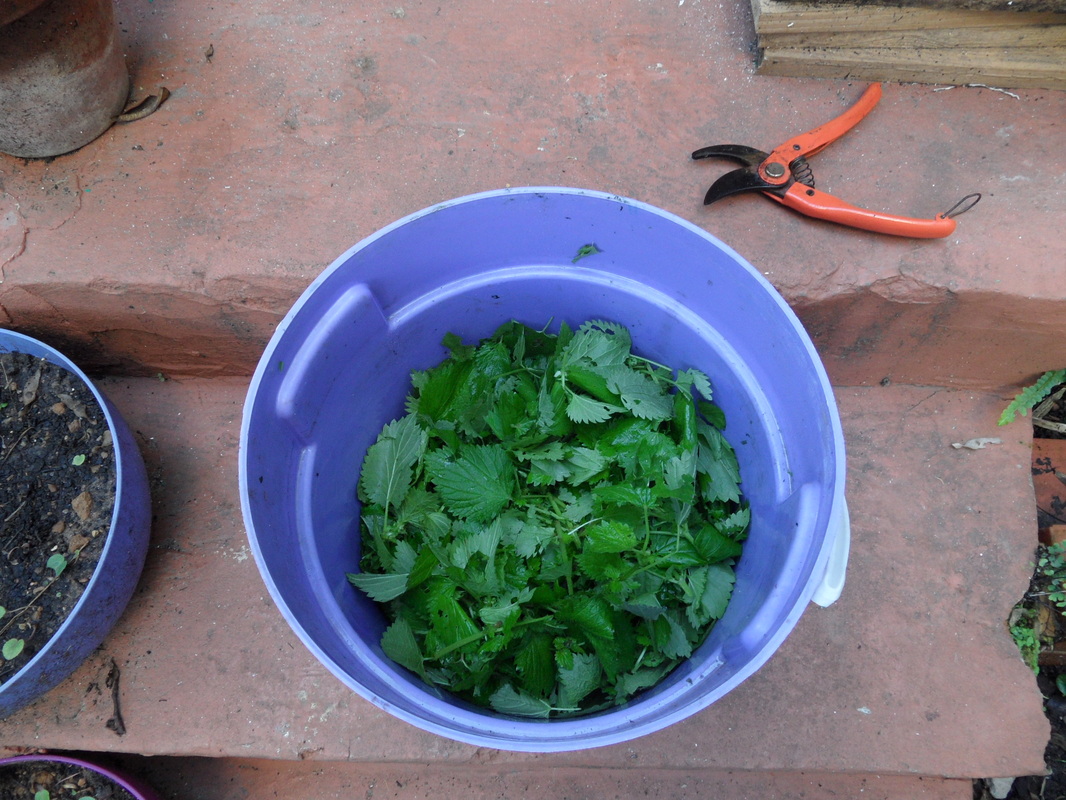 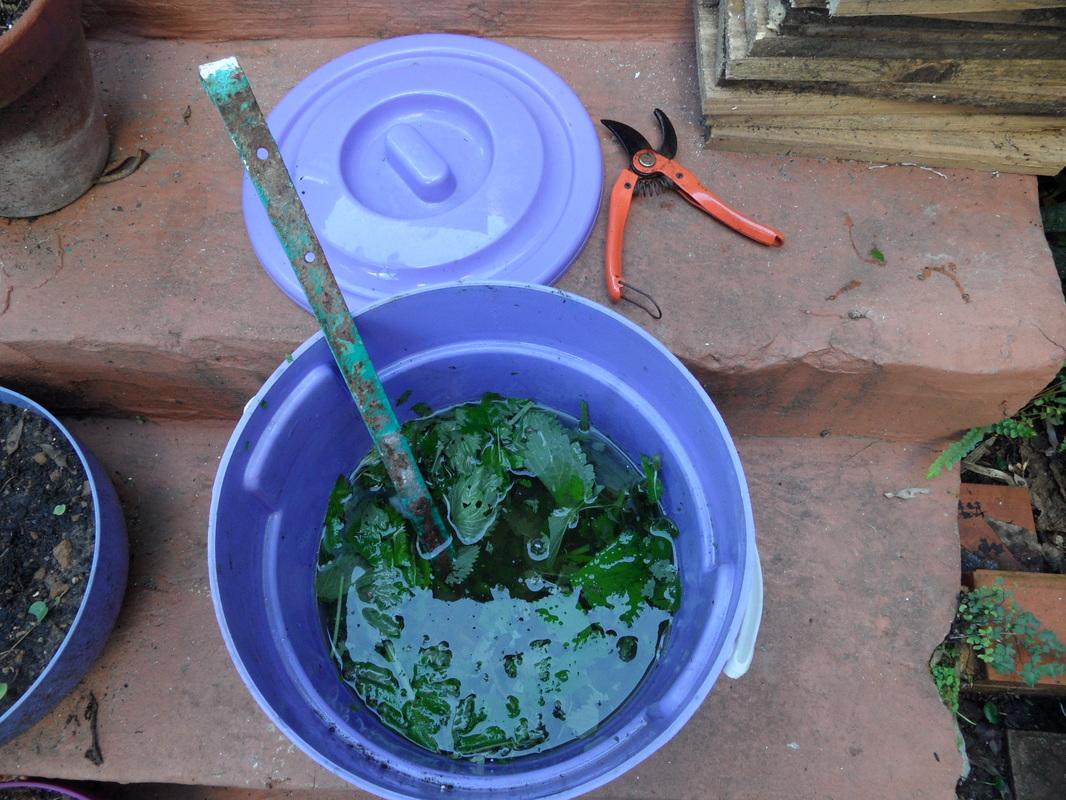 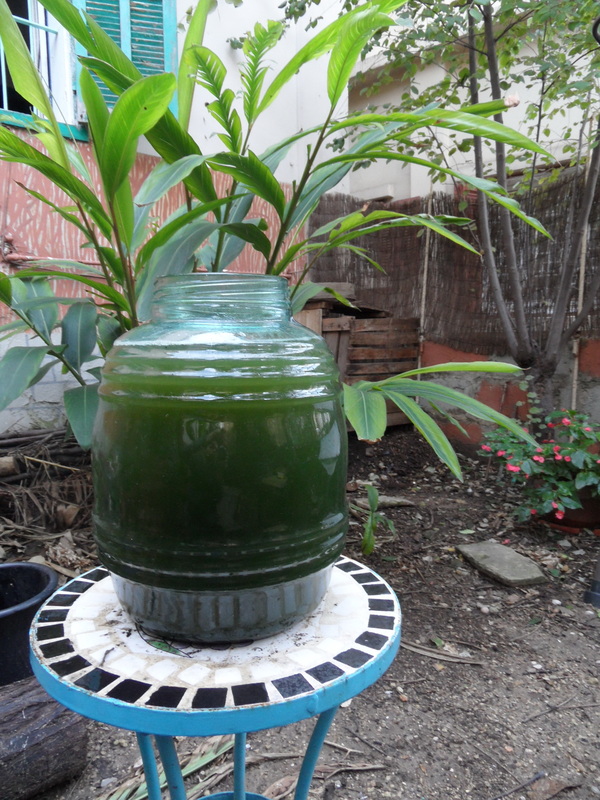 |
Note: You will still need to add compost and mulch to adjust the soil’s Nitrogen-Carbon ratio.
To apply on leaves, mix 1 part nettle tea with 20 parts water (1:20) and add 1/2 a teaspoon of liquid detergent to each 4 liters so the tea adheres to the leaves.
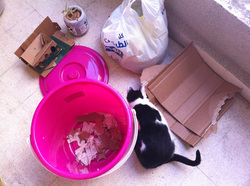
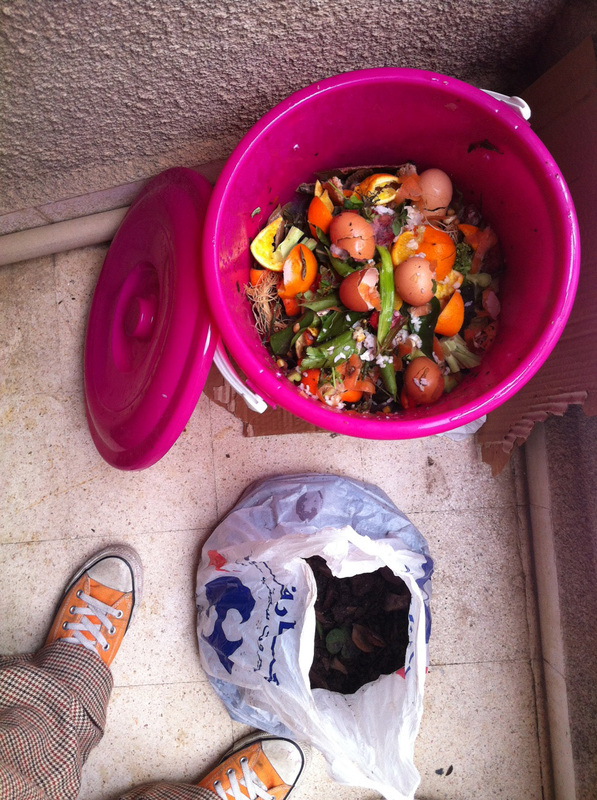
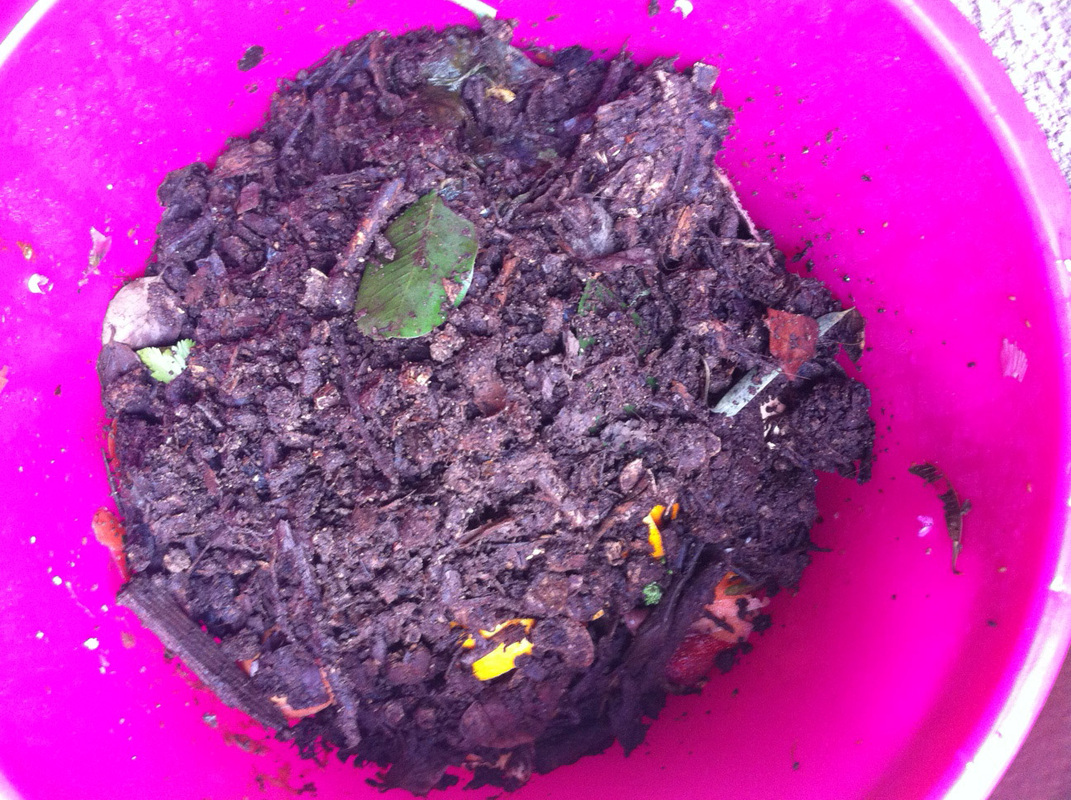
Undiluted nettle tea is great for making compost, as it speeds up decomposition. The leftover green mush from the tea can go right onto your compost heap.
To apply on leaves, mix 1 part nettle tea with 20 parts water (1:20) and add 1/2 a teaspoon of liquid detergent to each 4 liters so the tea adheres to the leaves.
Undiluted nettle tea is great for making compost, as it speeds up decomposition. The leftover green mush from the tea can go right onto your compost heap.